Quick Steps to Effectively Blur Backgrounds in Lightroom
Blurring the background in Lightroom Mod is a powerful editing technique that can make your subject stand out and add depth to your photos. Whether you are using Lightroom on mobile or desktop, the process remains simple, and with the right tools, you can create professional-quality images. Here’s a step-by-step guide to help you master background blurring in Lightroom.
Why Blur the Background in Lightroom?
Blurring the background (known as bokeh) helps isolate the subject, making it the focal point of your image. This effect is particularly useful for portrait, product, and nature photography, where the background may contain distracting elements. Lightroom gives you full control over the blur effect, ensuring a more natural and tailored result compared to mobile apps that offer generic blur effects.
Step-by-Step Guide to Blur Background in Lightroom

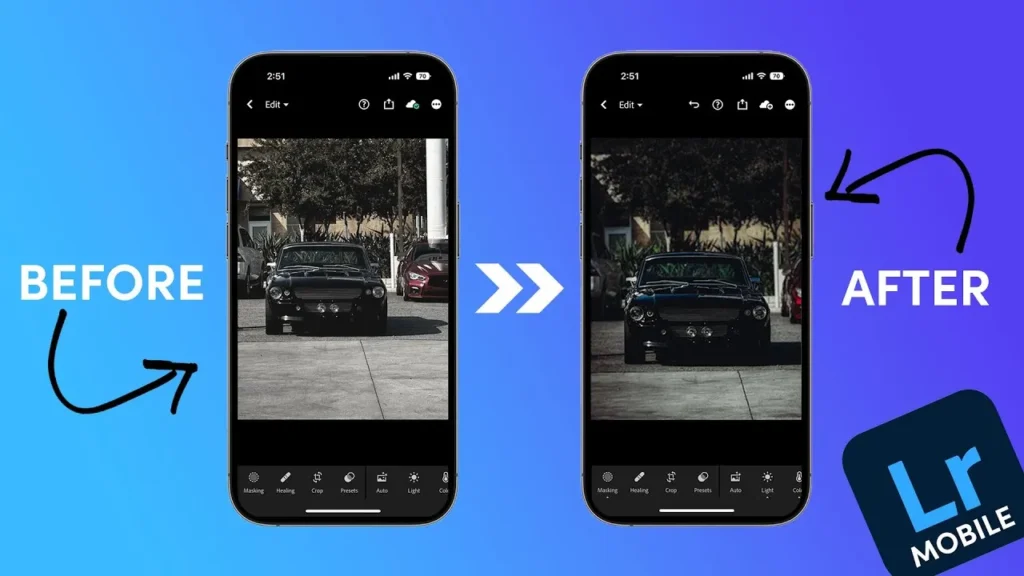
Blur Background
Import Your Image
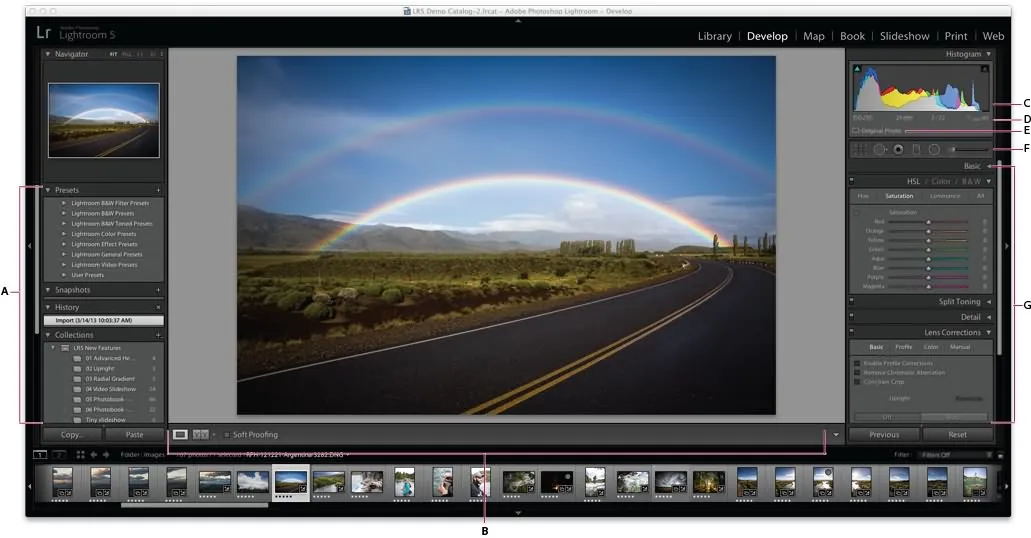
To start editing, import the image into Lightroom. Whether you’re using Lightroom on a desktop or mobile, the process is the same. On desktop, click File > Import, and on mobile, tap the plus sign to upload your photo from your gallery or take a new one.
Choose the Right Tool for Background Blur
Lightroom provides various tools for selectively blurring the background:
Brush Tool: Use this for precision when painting over the background.
Radial Gradient Tool: This tool allows you to apply a circular blur effect, perfect for keeping the focus on the subject.
Linear Gradient Tool: Ideal for applying a gradual blur from one side to the other.
Fine-Tune the Brush Settings
With the Brush Tool, adjust the size, feathering, flow, and density of the brush to match the area you want to blur. A smaller brush works well for detailed areas near the subject, while a larger one is better for wider background spaces.
Apply the Blur Effect
Once the tool is selected and settings are adjusted, begin painting over the background. Avoid the subject and apply the blur gradually to avoid an artificial appearance. Adjust the Clarity, Sharpness, and Texture sliders to soften the background as needed.
Refine the Mask
After applying the blur, refine the mask to ensure the effect is applied only to the background. Use the Erase Brush tool to correct any accidental blur on the subject and maintain sharpness.
Review and Adjust the Blur Intensity
Once the blur effect is applied, adjust the intensity of the blur using the Clarity and Sharpness sliders. This fine-tuning helps create a natural, seamless blur that enhances the subject without overpowering it.
Export the Edited Image
After finalizing the edits, export your image in the desired format (JPEG, TIFF, etc.). On mobile, tap Save or Export, and on desktop, click File > Export to save the image to your chosen folder.
Advanced Tips for Background Blur in Lightroom
Use Presets for Consistency
If you frequently blur backgrounds in a similar way, creating or using presets can save time. Presets are useful for batch editing multiple images and achieving a consistent style.
Combine Multiple Tools for Complex Edits
For more intricate backgrounds, combine the Brush Tool, Radial Gradient, and Linear Gradient to achieve a more controlled blur effect. This approach allows you to adjust the blur in specific areas, ensuring a polished result.
Leverage Lightroom’s Auto Mask Feature
Lightroom’s Auto Mask feature helps you detect the edges of your subject automatically, making it easier to apply the blur effect precisely without affecting the subject.
Pros and Cons of Blurring Background in Lightroom
Pros
cons
Quick Navigation
| Top 5 Lightroom Object Removal Tips: Step-by-Step Guide | https://lightrm.pro/object-removal/ |
| Lightroom vs Photoshop: 10 Quick Tips for Photo Editing | https://lightrm.pro/photoshop/ |
Frequently Asked Questions
.
Final Analysis
Blurring the background in Lightroom is an essential skill for photographers and editors who want to enhance their images. With tools like the Adjustment Brush, Radial Gradient, and Linear Gradient, Lightroom provides you with the flexibility to add depth and focus to your photos. By following the steps in this guide, you can effectively blur the background and bring attention to your subject, resulting in professional-quality images.