Top 5 Lightroom Batch Editing Tips for Photographers
Batch editing in Lightroom Mod is a powerful tool that saves photographers time and enhances workflow efficiency. Whether you’re working on hundreds of photos from a wedding shoot, a travel album, or product photos for a client, batch editing ensures that the same edits are applied across multiple images, ensuring consistency and speeding up post-processing. This guide walks you through various methods to batch edit photos and videos in Lightroom, whether you’re using Lightroom CC or Lightroom Classic.

What is Batch Editing in Lightroom?
Batch Editing
Batch editing refers to the process of applying the same edits or presets to multiple photos at once. This technique helps maintain uniformity across a series of images, reduces editing time, and allows for a faster turnaround—especially useful for professional photographers who need to process large volumes of images quickly.
Benefits of Batch Editing
Methods for Batch Editing in Lightroom
Here are the most efficient methods to batch edit your images in Lightroom.
This is the fastest way to apply adjustments to all images in a batch. When you import photos into Lightroom, you can select a preset to apply to every image. This works particularly well when dealing with a large number of photos that require similar adjustments, such as exposure correction or color grading.
Go to the Import module.
In the “Apply During Import” section, choose your preferred preset.
Lightroom automatically applies the selected preset to all imported photos during the import process.
After editing one image, you can synchronize the settings across a batch of photos. This method ensures consistency in adjustments like exposure, contrast, and white balance.
In the Develop module, edit the first image to your liking.
Select all the other images you wish to edit.
Click the Sync button, choose which adjustments to apply, and hit Synchronize.
This method allows you to copy the settings from one image and apply them to others. It’s great for small batches where you want to apply specific edits without full synchronization.
Select the edited image and press Ctrl + C (Windows) or Cmd + C (Mac) to copy the settings.
Hold Ctrl (Windows) or Cmd (Mac), then click the images you want to apply the settings to.
Press Ctrl + V (Windows) or Cmd + V (Mac) to paste the settings.
When you enable Auto Sync, any adjustment made to the first selected image is automatically applied to the rest in the batch. This real-time mechanism is ideal for quick edits across multiple images.
Select all the images you wish to edit in the Develop module.
Enable Auto Sync at the bottom of the Develop module.
Make adjustments to the first image; changes will apply instantly to all selected images.
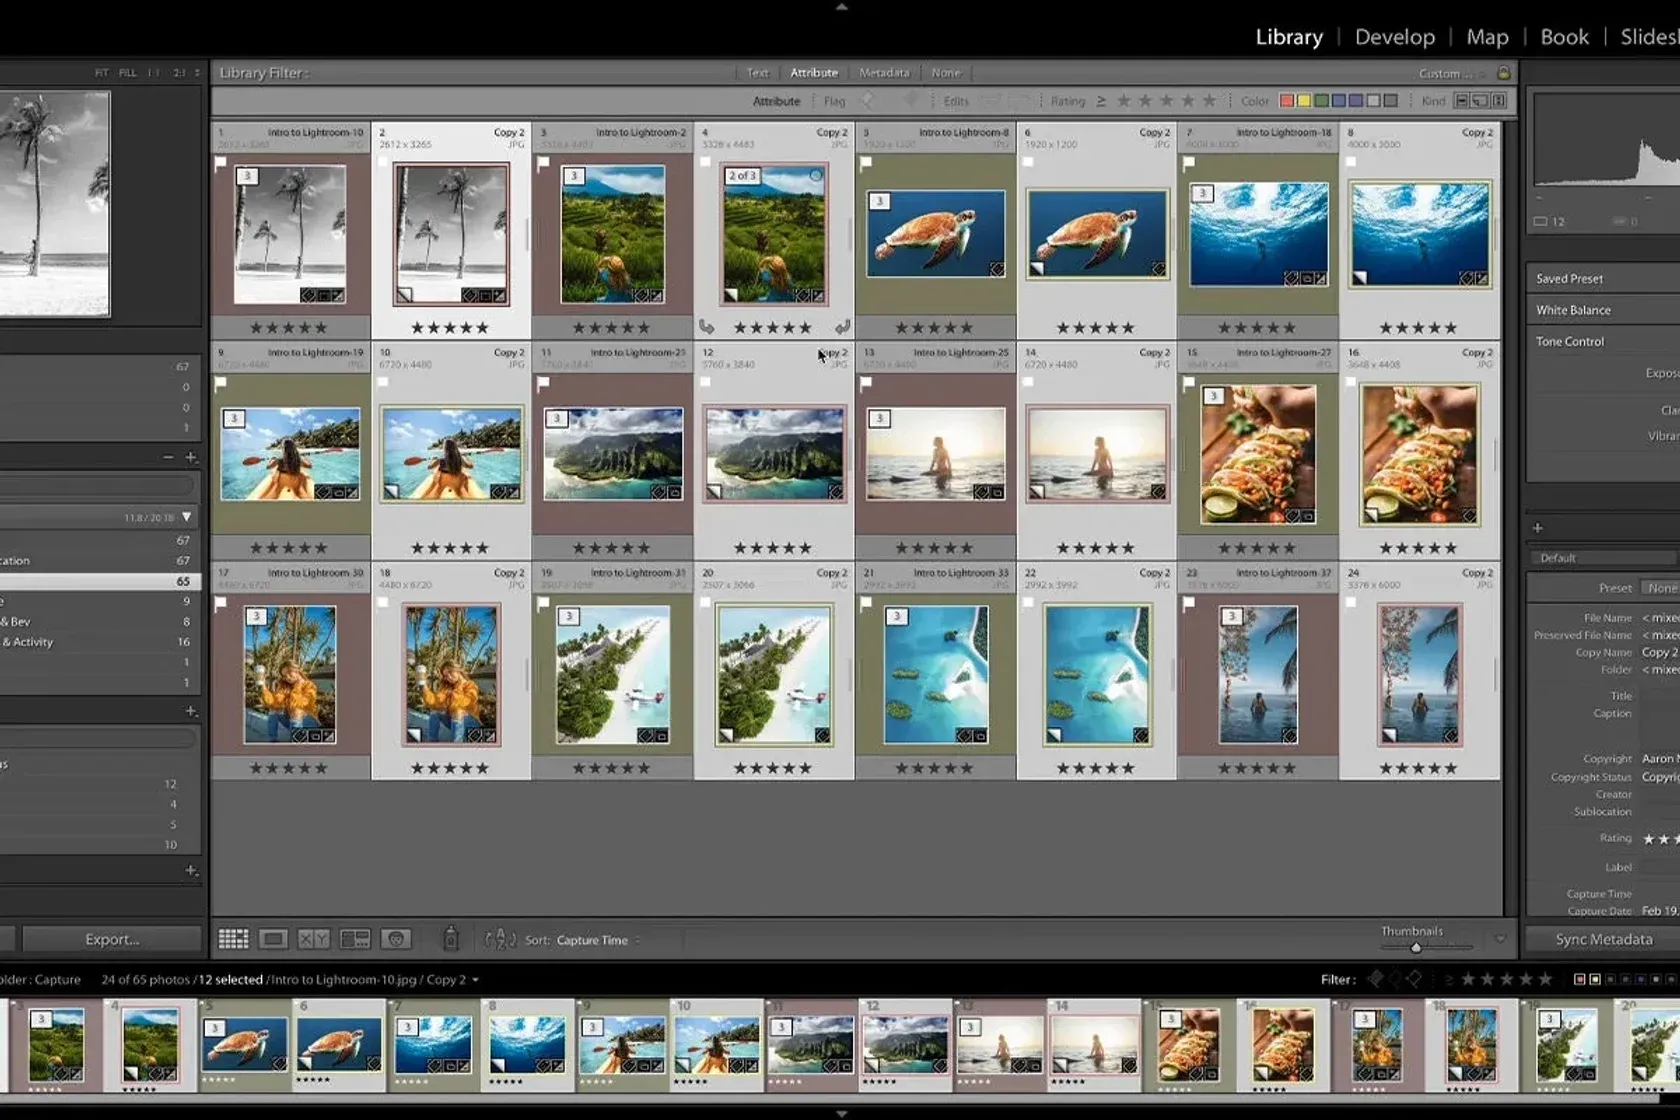
If you need to add or adjust metadata (e.g., copyright, keywords, or camera settings), Lightroom allows you to batch edit metadata across multiple images.
Select the images with similar metadata.
Go to the Metadata panel in the Library module.
Make your changes and click Sync Metadata to apply them to the selected images.
Batch Editing in Lightroom Mobile
Batch editing in Lightroom Mobile follows a similar process to the desktop version, with some minor differences in the workflow.
Go to the Import module.
In the “Apply During Import” section, choose your preferred preset.
Lightroom automatically applies the selected preset to all imported photos during the import process.
Best Practices for Batch Editing
To ensure your batch edits are successful, follow these best practices:
Organize Your Photos: Use collections and folders to keep your photos organized before you begin editing.
Start with a Reference Photo: Edit one image to serve as a reference, then synchronize or apply the preset across the batch.
Avoid Over-editing: Make sure you don’t apply too many broad adjustments that may look unnatural across different images.
Fine-Tune Individually: Even after batch editing, review each image for any fine-tuning that may be necessary.
Common Mistakes to Avoid
Pros and Cons of Batch Editing in Lightroom
pros
Cons
Quick Navigation
| Lightroom Presets: Complete Guide to Download and Use | https://lightrm.pro/download/ |
| Quick Steps to Effectively Blur Backgrounds in Lightroom | https://lightrm.pro/blur-backgrounds/ |
Frequently Asked Questions
Conclusion
Batch editing in Lightroom is an essential tool for photographers looking to streamline their workflow. By applying consistent edits across multiple photos, you save time and ensure a professional, cohesive look throughout your collection. Whether you use Lightroom CC or Classic, these methods and best practices will help you work more efficiently while maintaining high-quality results.